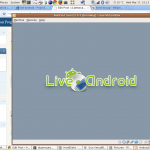
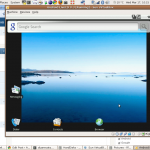
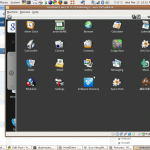
I’ve been continuing my development efforts in the mobile application space – largely on the Palm WebOS platform. As WebOs developers know, the emulator for the Palm Pre SDK is based on VirtualBox, since the WebOS platform runs on top of a Linux 2.6 kernel (on x86). Since we know that Google Android also runs on the Linux x86 2. kernel, I wondered if it would be possible to emulate Android on the PC using VirtualBox. It turns out, a couple of others have tried this out – the instructions at this site worked very well for me, so all credit to their hard work! Here are the steps:
- Download the android liveCD iso files from the Live-Android project. I used the latest version (0.3), which came in two separate download files.
- Join the two download files into one. On Linux, you can use the following (or similar) in a shell prompt:
$ cat android-live.001 android-live.002 > android-live.iso
For Windows, in a cmd window, type
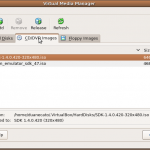
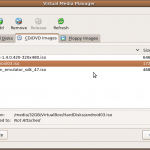
c:> copy android-live.001+android-live.002 android-live.iso - Start up the VirtualBox GUI, and open the Media Manager. Click the CD/DVD tab, and then click the Add button. Navigate to the location where the android Live CD iso was saved, and select the iso file, then click OK.
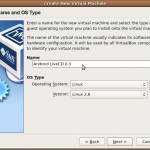
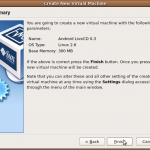
- Now create a new Virtual machine profile from the main GUI, by clicking the New button. Name the profile, and set the OS to Linux, with version Linux 2.6. Hit Next.
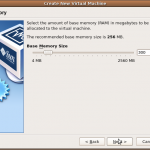
- Set the memory for virtual machine to 300 MB; this should be more than enough. Hit Next.
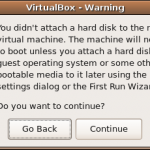
- Uncheck the box for the hard disk, then click Next. A warning will be displayed indicating that there is no boot device for the machine; this can be ignored, by clicking Continue. Hit Next to get to the final confirmation screen. Then hit Finish to create the virtual machine.
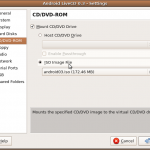
- The next step was to ensure that the machine would boot from the image by clicking the Settings button and updating the CD/DVD mount for the machine. Click on the ISO Image File option and select the Android iso image added above.
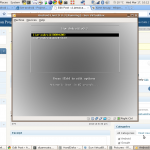
- Start the new virtual machine, choosing to boot from the CD.
This gives the mobile developer who wants to develop and deploy to multiple platforms a quick, cheap way to evaluate functionality and operation without buying a whole new device. I’m looking forward to trying out my own apps in the Android world!
