In this second entry on my progress in setting up an Oracle eBusiness 11i instance on Ubuntu, I will outline some of the details around the configuration process. I’ll also outline any pitfalls and gotchas that I meet along the way. For those who came in late, the first post (Installing Oracle eBusiness Suite on Ubuntu) detailed the rationale and preparation steps before the actual install process.
Initial Preparation
The type of eBusiness installation I am installing is referred to as single-node; as can be imagined, this is because all of the component tiers live on a single server. I chose this as the simplest and cheapest approach, taking into account the commodity hardware and software I am using for my project. I’ll outline my steps below.
i. I extracted the entire Oracle eBusiness suite zips into a stage11i directory. In my case, I put the disc contents on a separate server, which I then shared over the network to my eBusiness node.
ii. For simplicity of installation (and to get the basics working first), this will be a single-user installation. As a result, it will only require a single os id (oracle) for managing the database and application tier. I created the user using standard administration tools, and appropriate permissions to the stage and proposed installation directories. I also added the oracle user to two new groups, dba and apps, since I expect this will help manage security later on.
iii. I signed into the EBS server as the new oracle user, and created a mount point and an /etc/fstab entry mount command for the stage directory. This will ensure that the stage directory remains available on subsequent logins of the oracle user. Below is the /etc/fstab entry:
//orochimaru/stage11i /home/oracle/stage11i cifs auto,sec=none
Configuration
Now that I had access to the stage area for the installation files, I ran the Oracle rapidwiz progrm, which collects all the information necessary to setup the various install processes for the database, application and forms subsystems.
$ cd stage11i
$ cd startCD
$ ls
autorun.inf CL2 CL4 CL6 Disk1 ShelExec.exe
CL1 CL3 CL5 component.label readme.txt welcome.html
$ cd Disk1
$ ls
adautostg.pl driver images lib RapidWiz.cmd RapidWizVersion.cmd
bin etc jlib oui RapidWiz.ini template
ClientWiz.cmd File jre rapidwiz RapidWizVersion unzip
$ ./rapidwiz
Rapid Install Wizard is validating your file system……
>> The 806 installer product will use the /etc/oratab file.
>> File /etc/oratab is missing –
>> Rapid Install will use /etc/oraInst.loc file.
>> Please execute the script /tmp/oraInstRoot.sh as root to fix the above errors
I ran the script indicated to correct the error message above, then tried rapidwiz once more:
$ sudo /tmp/oraInstRoot.sh
$ ./rapidwiz
Rapid Install Wizard is validating your file system……
Rapid Install Wizard will now launch the Java Interface…..
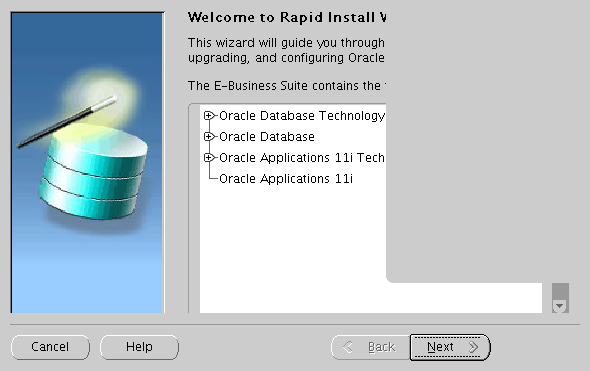
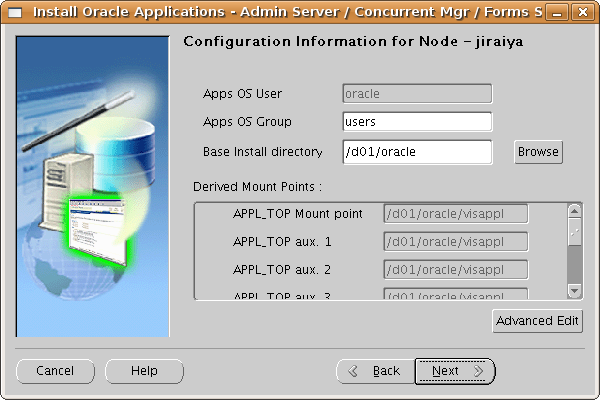
The rapidwiz program (seen below), has sections which allow the entry of the main directories and Oracle Homes for all of the EBS components.
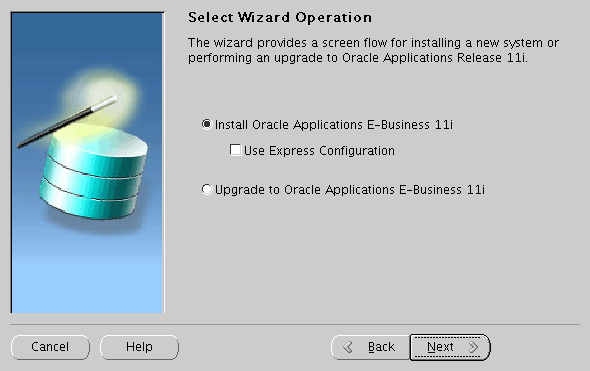

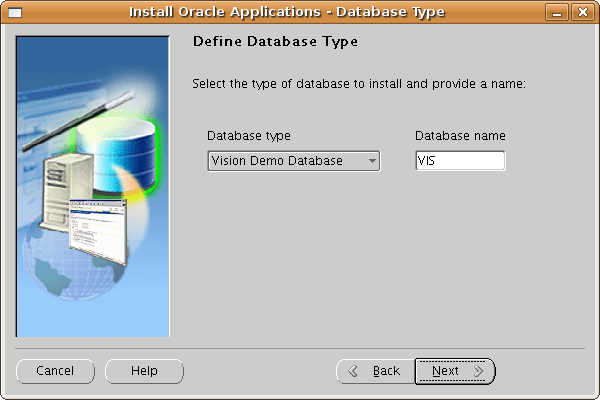
After selecting the installation and database type (VIS for the Vision demo instance), the entry screen for the Oracle home selection displayed. It is important to make sure that the directory chosen for the home already exists. I also chose a subdirectory off the root as the base for all of the EBS, since I expect at some point to want the option to move the entire tree to a SAN or other storage solution; having a ready mount point will make that easier.

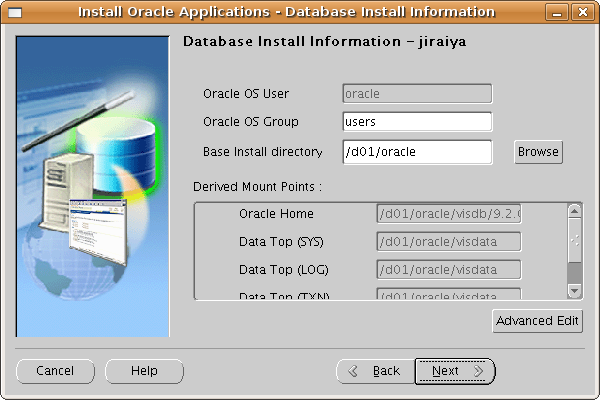
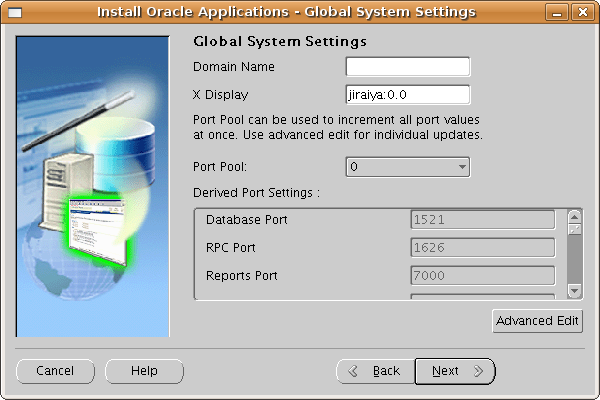
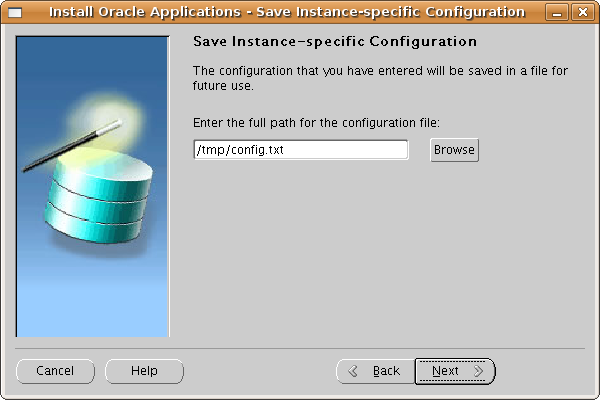
The admin server and forms home are then chosen in similar fashion, followed by the specifics for the global settings (ports, domain name, etc.). finally, the config file location is chosen, at which point, the Rapid Wizard will do the pre-install checks.
If there are issues preventing the installation from continuing, the pre-install check will indicate these errors by displaying a red exclamation sign beside them; successful tests will have a green check mark.
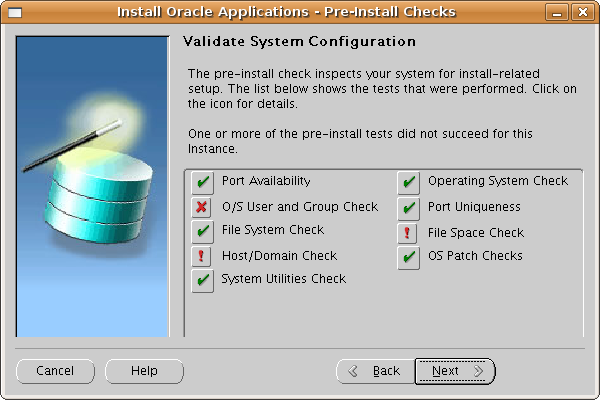
In the next section, I will go into more detail on resolving issues seen in the pre-install checks, and beginning the actual install process.