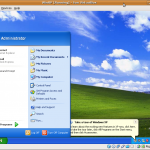
As part of my ongoing application development work, I had occasion to install Sun VirtualBox 3.0 recently. For those who have not used VirtualBox before, it is a x86 virtualization product, which runs on a number of host operating systems. Since I already had the VM software available, it seemed like a worthwhile experiment to see what would be required to get a Windows session running in VirtualBox under Ubuntu.
The first thing I did was to start up the VirtualBox application (System Tools-> Sun VirtualBox).
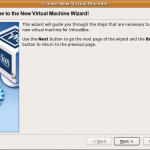
At the main dialog, I hit the New button to create a new virtual machine.
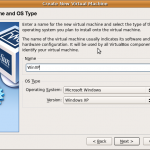
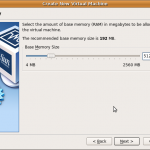
Hitting Next moved to a dialog where I entered the name of my VM (in this case, I called it WinXP). Notice that the default Operating System and Version were already set. I then hit Next once more to choose the memory for the VM. I took a little above the recommended amount of 192 MB, setting it to 512 MB.
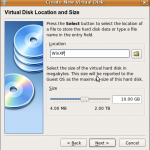
I then hit Next to create a new hard disk image to use as the primary boot for this virtual machine, accepting the recommended size of 10 GB, and hit Next again.
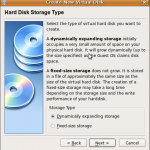
This started up the wizard to create the virtual disk. I set the virtual disk to dynamically resize to a maximum of available the host machine drive space, and also accepted the default location and size for the virtual drive.
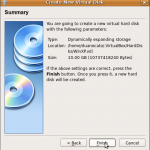
After confirming the drive specifications, I hit Finish to create the virtual drive.
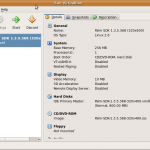
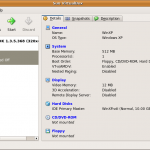
Finally, I reviewed all details entered for the virtual machine, then hit Finish to begin the process of generating the virtual machine profile in Virtualbox.
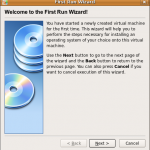
The next step was to power on the virtual machine, and actually install Windows XP. I highlighted the WinXP profile in the Virtualbox manager, and clicked the Start button.
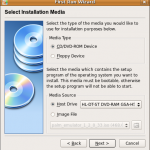
This activated the WinXP VM, which for the first run, presented the profile to install the OS in the VM hard disk. Hitting Next, allowed the selection of the media source for the guest OS software (Windows XP); in this case, I chose the system CD/DVD drive.
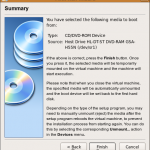
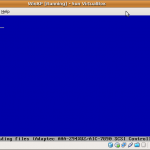
After hitting Next and confirming the media source selection by clicking the Finish button in the first run wizard, the virtual machine detected the Windows XP CD already in the drive, and began the boot install process.
On completion, the Windows setup process restarted the virtual machine, and allowed sign in using the user chosen during setup.
The real advantage of this approach to running Windows is that it reduces the need to set up dual-boot, as well as allowing the creation of different environments for specific functions or execution profiles. I expect to make use of VirtualBox quite a bit in my development and regression testing tasks in the future.
